- Android TextView java
- Android EditText
- Android AutoCompleteTextView
- CheckedTextView Android
- Android Button
- Android CheckBox
- Android RadioGroup Example
- Android RadioButton Example
- Android ToggleButton
- Android Switch
- Android ImageView
- Android WebView
- Android SeekBar
- Android CalanderView
- Android VideoView
- Android ProgressBar
- Android RatingBar
- Android SearchView
- Android ConstraintLayout
- Android LinearLayout
- Android Spinner
- Android ScrollView
- Android CardView
- Android Collapsing toolbar Example java
- Current Location Android
- Android Airplane Mode, Bluetooth BroadcastReceiver example
- Android Service Example
- Android Detect Phone Call BroadcastReceiver example
- Android RecyclerView Example
- Android RecyclerView Example with model class
- Android sharedpreferences Example
- Android Retrofit Example Java
- Android Retrofit Example With RecyclerView
- Android MVP Login Example
- Android Fragment Example
- Android MVP Retrofit Example
- Android Auto Image Slider with LInk Example Java
- Android Bottom navigation Example Java
- Android pdf viewer URL and Asset folder example
- Android Pay-pal Integration Example Java
- Room Database Example
- Send and Recieve Data Firebase Firestore
- Android Facebook login by Java
- View Binding Example
- Data Binding Example
- Send an image to the server by retrofit android example Java
- Android Audio Play Push Example Java
- Scan QR Android
- Create QR Code Android Java example
- Google Map Android Example
- Search location Android
- Android Interface java example
- Android BroadcastReceiver Example
- Android Intent Example
- Android battery low, battery percentage, battery status (charging or not), Battery Health BroadcastReceiver example
- Android Custom Navigation Drawer Java
- Android Custom 3 dot menu example java
- Android sslcommerz Integration Example Java
- Android TabLayout Java Example
- Android AlarmManager exmaple
- Android Google Signin example Java
- Android Lottie animation example java
- Android Custom Toolbar Back Button Example
- Android Push Notification Example Java
- Android Language Change example Java
- Dark Mode Light Mode Android Example Java
- Android Exit Alart Dialog Java
- Android Custom Dialog Popup Java
- Android Auto Image Slider Example Java
- SearchView from ArrayList
- Firebase phone authentication
- Image Download From URL and save in the folder
- Onboarding Screen with ViewPager2
- Pagination in RecyclerView
- Shimmer Loading Effect
- Bottom Sheet Dialog
- Image, button transition left to right, right to left
- Voice To Text Example Android
- Image animation left to right, top to bottom Android Example Java
- Splash Screen Android Example Java
- Records audio and saves it to a folder Android Java Example
- Text Font add Android Example Java
- Take a picture from the camera set in the imageView Android
- Android Get Picture from folder set in image view
- Android Responsive Design layout for tab and phone
- Android Landscape and Portrait screen design
- Point my Current location Android
- Android Multi Select Spinner example Java
- Page Zoom Controls Android Example Java
- Dependency Injection with Dagger 2 Android Java Example
- Dagger Hilt Android Example Java
- Agora Video Audio Call Example
- Android Connect LAN printer and Print Data
- Android Connect bluetooth printer and Print Data
- DeepLink Android Example
- Socket Connection Android Example
- Web Scrapping Example in Android Java
- Button Click Open Gmail app and send email android java example
- Firebase Email Verification
- Button Click Text Zoom IN/OUT Android Java
- Zoom In /Out With Finger Touch Android java Example
Data Binding Example
24-Sep-2024Data Binding Example
1/ Open build.gradle file ( app module) and add the following code in android block
in my case the gradle is in Kotlin that's why the coding format is like this. If you choose Grovy in your project then the format will be a little different
buildFeatures{
    dataBinding = true
}
below is the full code of gradle file
plugins {
    alias(libs.plugins.android.application)
}

android {
    namespace = "com.example.databindingexample"
    compileSdk = 34

    defaultConfig {
        applicationId = "com.example.databindingexample"
        minSdk = 26
        targetSdk = 34
        versionCode = 1
        versionName = "1.0"

        testInstrumentationRunner = "androidx.test.runner.AndroidJUnitRunner"
    }

    buildFeatures{
        dataBinding = true
    }

    buildTypes {
        release {
            isMinifyEnabled = false
            proguardFiles(
                getDefaultProguardFile("proguard-android-optimize.txt"),
                "proguard-rules.pro"
            )
        }
    }
    compileOptions {
        sourceCompatibility = JavaVersion.VERSION_1_8
        targetCompatibility = JavaVersion.VERSION_1_8
    }
}

dependencies {

    implementation(libs.appcompat)
    implementation(libs.material)
    implementation(libs.activity)
    implementation(libs.constraintlayout)
    testImplementation(libs.junit)
    androidTestImplementation(libs.ext.junit)
    androidTestImplementation(libs.espresso.core)
}
After changes to gradle file, you must sync your project.
2/ create java class: User
package com.example.databindingexample;


public class User {
    private String name;
    private String email;

    public User(String name, String email) {
        this.name = name;
        this.email = email;
    }

    public String getName() {
        return name;
    }

    public void setName(String name) {
        this.name = name;
    }

    public String getEmail() {
        return email;
    }

    public void setEmail(String email) {
        this.email = email;
    }
}
3/ Modify your activity_main.xml file.
3.1/ Convert root layout into layout tag
3.2/ Add data tag
3.3/ Add a variable in the data tag ( give a variable name and type ) in the example create a User model and set the model in the variable tag.
3.4/ Where do we need to set the user data we use this syntax @{user.name} here user is the model and name is the field of this model
<?xml version="1.0" encoding="utf-8"?>
<layout xmlns:android="http://schemas.android.com/apk/res/android">

    <data>
        <variable
            name="user"
            type="com.example.databindingexample.User" />
    </data>

    <androidx.constraintlayout.widget.ConstraintLayout
        android:layout_width="match_parent"
        android:layout_height="match_parent"
        xmlns:app="http://schemas.android.com/apk/res-auto"
        xmlns:tools="http://schemas.android.com/tools"
        >
        <LinearLayout
            android:layout_width="match_parent"
            android:layout_height="wrap_content"
            app:layout_constraintStart_toStartOf="parent"
            app:layout_constraintEnd_toEndOf="parent"
            app:layout_constraintTop_toTopOf="parent"
            android:orientation="vertical"
            android:gravity="center"
            app:layout_constraintBottom_toBottomOf="parent"
            >
            <LinearLayout
                android:layout_width="wrap_content"
                android:layout_height="wrap_content"
                android:orientation="horizontal"
                >
                <TextView
                    android:layout_width="wrap_content"
                    android:layout_height="wrap_content"
                    android:text="Name:"
                    android:textSize="18sp"
                    android:textStyle="bold"
                    />
                <TextView
                    android:layout_marginStart="16dp"
                    android:layout_width="wrap_content"
                    android:layout_height="wrap_content"
                    android:text="@{user.name}"
                    android:textSize="18sp"
                    />
            </LinearLayout>
            <LinearLayout
                android:layout_marginTop="16dp"
                android:layout_width="wrap_content"
                android:layout_height="wrap_content"
                android:orientation="horizontal"
                >
                <TextView
                    android:layout_width="wrap_content"
                    android:layout_height="wrap_content"
                    android:text="Email:"
                    android:textSize="18sp"
                    android:textStyle="bold"
                    />
                <TextView
                    android:layout_marginStart="16dp"
                    android:layout_width="wrap_content"
                    android:layout_height="wrap_content"
                    android:text="@{user.email}"
                    android:textSize="18sp"
                    />
            </LinearLayout>

        </LinearLayout>
    </androidx.constraintlayout.widget.ConstraintLayout>


</layout>
4/ Modify your MainActivity.java file
package com.example.databindingexample;
import android.os.Bundle;
import androidx.appcompat.app.AppCompatActivity;
import androidx.databinding.DataBindingUtil;
import com.example.databindingexample.databinding.ActivityMainBinding;
public class MainActivity extends AppCompatActivity {
@Override
protected void onCreate(Bundle savedInstanceState) {
super.onCreate(savedInstanceState);
ActivityMainBinding binding = DataBindingUtil.setContentView(this, R.layout.activity_main);
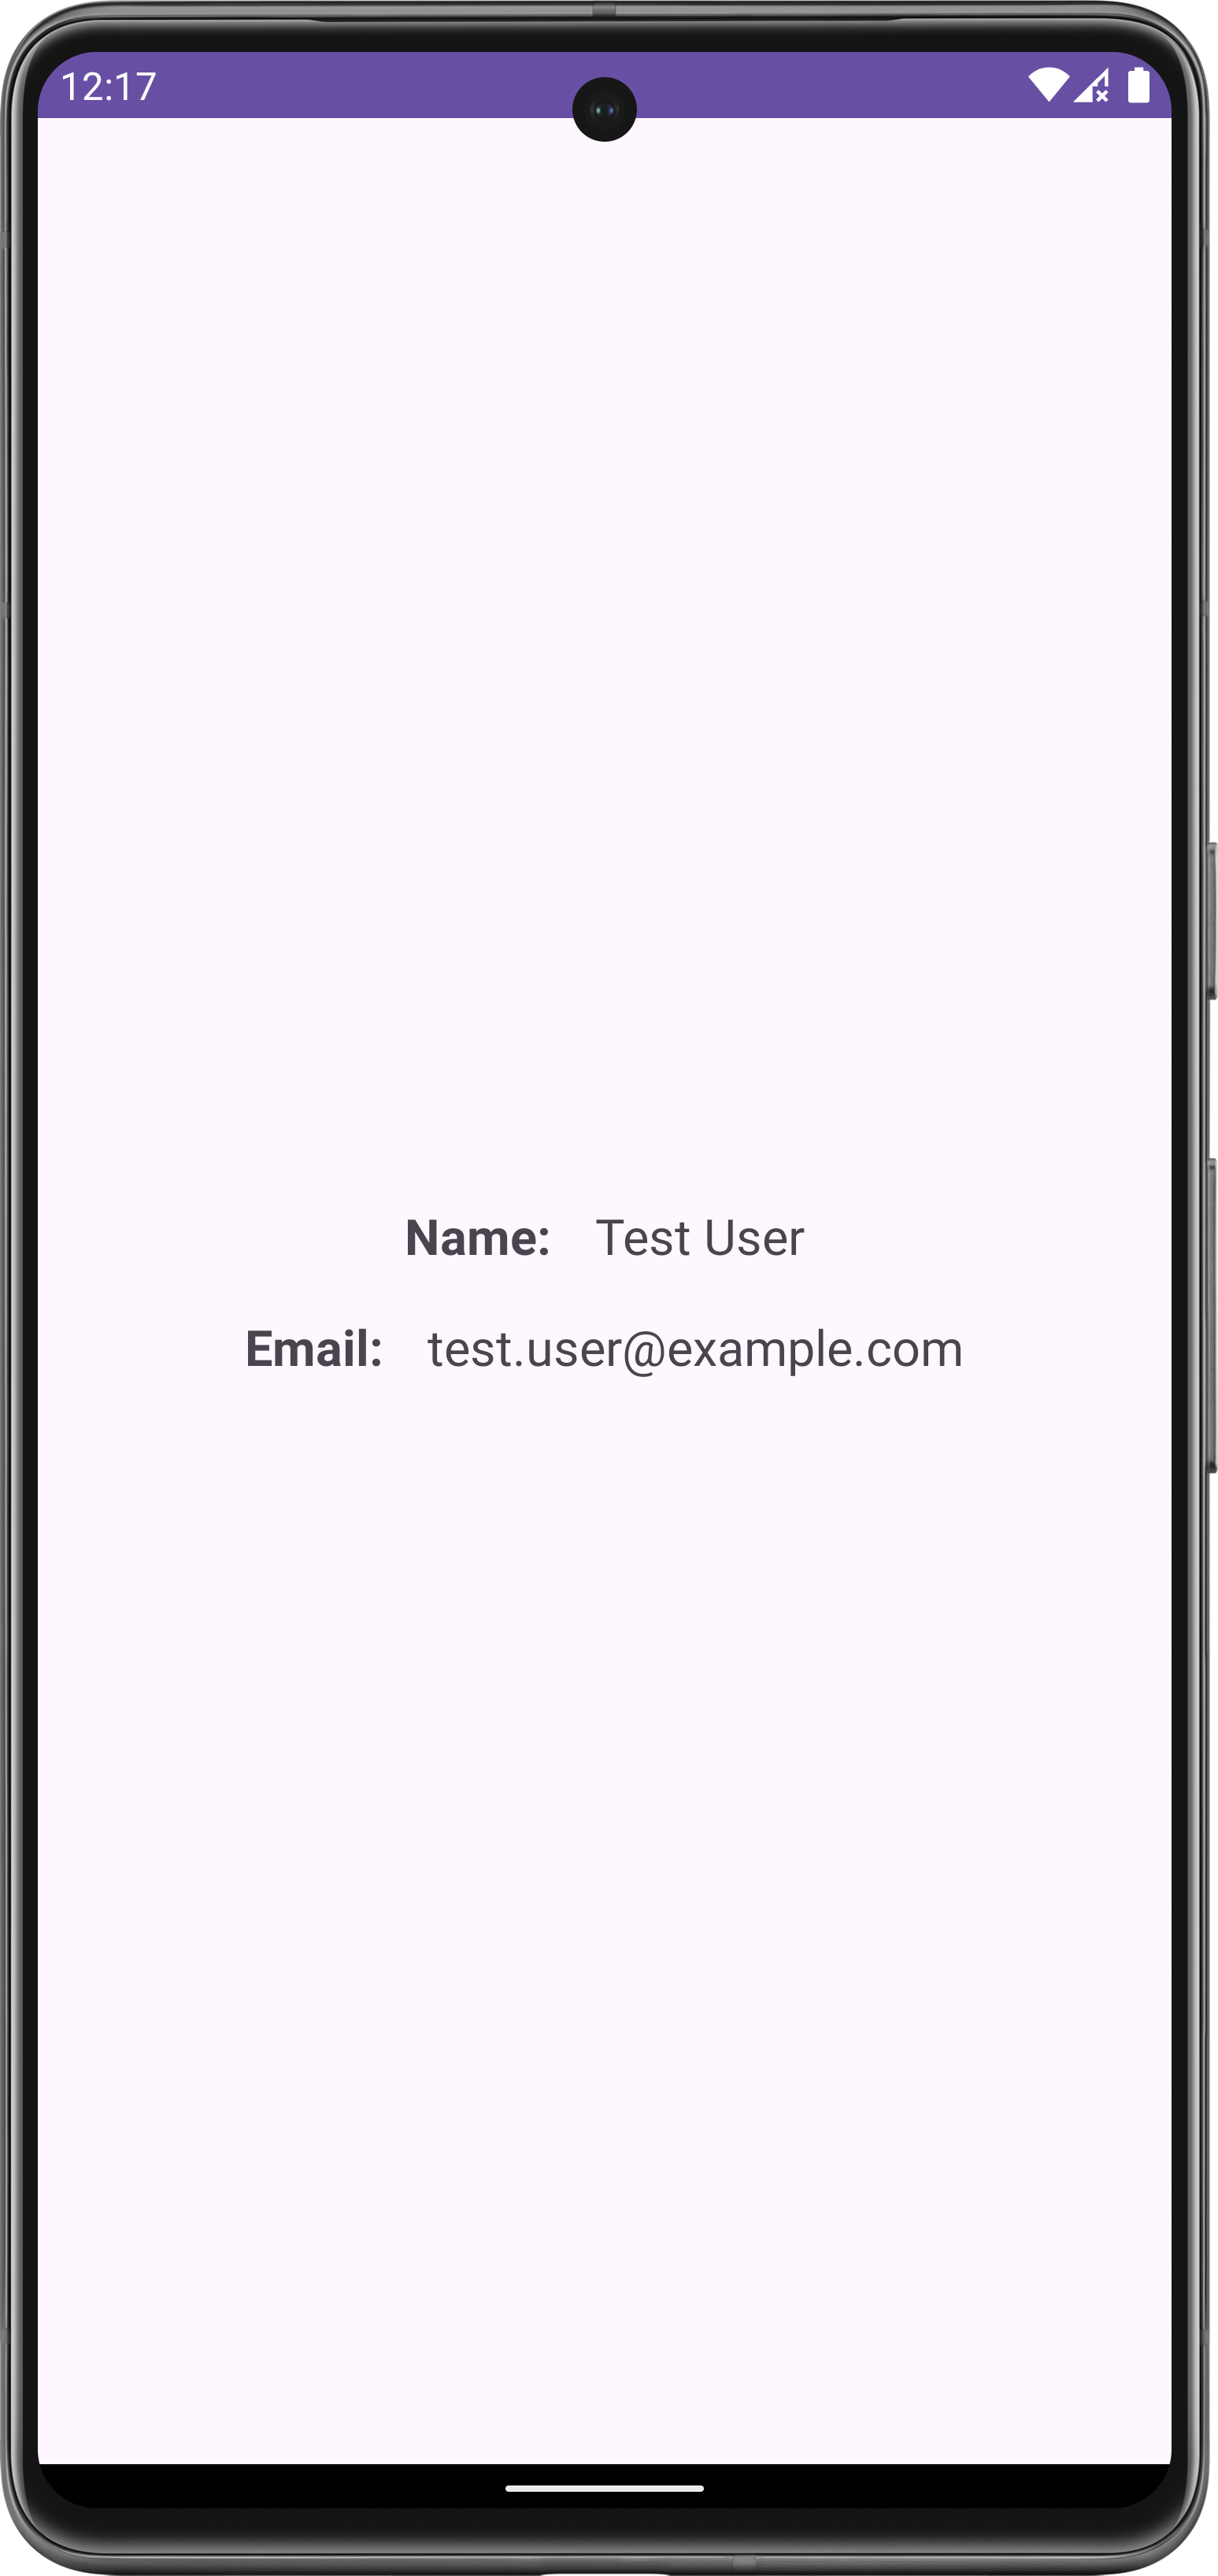
User user = new User("Test User", "test.user@example.com");
binding.setUser(user);
}
}
Here first you should bind your XML file.
With the data binding, automatically create a file with the same name as the XML file just adding the Binding last of the XML file
in the above example, the XML file name is activity_main
and view binding create a file name ActivityMainBinding
after binding the views we can bind data source
in the example user object is bind with the views data variable
User user = new User("Test User", "test.user@example.com");
binding.setUser(user);
Output: