- Android TextVew in Kotlin
- Android EditText Kotlin
- Android AutoCompleteTextView Kotlin
- CheckedTextView Android Kotlin
- Android Button Kotlin
- Android CheckBox Kotlin
- Android RadioGroup Example Kotlin
- Android RadioButton Example Kotlin
- Android ToggleButton Kotlin
- Android Switch Kotlin
- Android ImageView Kotlin
- Android WebView Kotlin
- Android SeekBar Kotlin
- Android CalanderView Kotlin
- Android VideoView Kotlin
- Android ProgressBar Kotlin
- Android RatingBar Kotlin
- Android SearchView Kotlin
- Android ConstraintLayout Kotlin
- Android LinearLayout Kotlin
- Android Spinner Kotlin
- Android ScrollView in Kotlin
- Android CardView Kotlin
- Android Interface Kotlin Example
- Android Airplane Mode, Bluetooth BroadcastReceiver example Kotlin
- Android Service Example
- Android Detect Phone Call BroadcastReceiver Kotlin example
- Android RecyclerView Kotlin Example
- Android RecyclerView Kotlin Example with model class
- Android sharedpreferences Kotlin Example
- Android Retrofit Example Kotlin
- Android Retrofit Example With RecyclerView
- Android Fragment Example Kotlin
- Android Auto Image Slider with URL Example Kotlin
- Android Bottom navigation Example Kotlin
- Android pdf viewer URL and Asset folder Kotlin example
- Android Audio Play Push Example Kotlin
- Scan QR Android Kotlin
- Create QR Code Android Kotlin example
- Android Collapsing toolbar Example Kotlin
- Current Location Android
- Google Map Android Example
- Search location Android kotlin
- Android Facebook login by kotlin
- View Binding Example kotlin
- Data Binding Example kotlin
- Onboarding Screen with ViewPager2 kotlin
- Android Lottie example kotlin
- Android Custom Toolbar Back Button Example kotlin
- Android Language Change example kotlin
- Dark Mode Light Mode Android Example kotlin
- Android Exit Alart Dialog kotlin
- Android Custom Dialog Popup kotlin
- Android Auto Image Slider Example kotlin
- SearchView from ArrayList kotlin
- Firebase phone authentication kotlin
- Image Download From URL and save in the folder
- Pagination in RecyclerView kotlin
- Shimmer Loading Effect kotlin
- Bottom Sheet Dialog kotlin
- Image, button transition left to right, right to left kotlin
- Voice To Text Example Android kotlin
- Image animation left to right, top to bottom Android Example kotlin
- Splash Screen Android Example kotlin
- Records audio and saves it to a folder Android kotlin Example
- Text Font add Android Example kotlin
- Take a picture from the camera set in the imageView Android kotlin
- Android Get Picture from folder set in image view kotlin
- Android Responsive Design layout for tab and phone kotlin
- Android Landscape and Portrait screen design kotlin
- Point my Current location Android kotlin
- Android Multi Select Spinner example kotlin
- Page Zoom Controls Android Example kotlin
- Dependency Injection with Dagger 2 Android kotlin Example
- Dagger Hilt Android Example kotlin
- Agora Video Audio Call Example kotlin
- Android Connect LAN printer and Print Data kotlin
- Android Connect bluetooth printer and Print Data kotlin
- DeepLink Android Example kotlin
- Socket Connection Android Example kotlin
- Web Scrapping Example in Android kotlin
- Button Click Open Gmail app and send email android kotlin example
- Firebase Email Verification Kotlin
- Button Click Text Zoom IN/OUT Android kotlin
- Zoom In /Out With Finger Touch Android kotlin Example
Data Binding Example kotlin
07-Jan-2025Data Binding Example kotlin
1/ Open build.gradle file ( app module)
1.1/Add the following code in android block
buildFeatures{
    dataBinding = true
}
1.2/Add the following code in plugins block
id("kotlin-kapt")
below is the full code of the gradle file
plugins {
    alias(libs.plugins.android.application)
    alias(libs.plugins.kotlin.android)
    id("kotlin-kapt")
}

android {
    namespace = "com.microappvalley.databindingkotlin"
    compileSdk = 35

    defaultConfig {
        applicationId = "com.microappvalley.databindingkotlin"
        minSdk = 24
        targetSdk = 34
        versionCode = 1
        versionName = "1.0"

        testInstrumentationRunner = "androidx.test.runner.AndroidJUnitRunner"
    }

    buildTypes {
        release {
            isMinifyEnabled = false
            proguardFiles(
                getDefaultProguardFile("proguard-android-optimize.txt"),
                "proguard-rules.pro"
            )
        }
    }
    compileOptions {
        sourceCompatibility = JavaVersion.VERSION_1_8
        targetCompatibility = JavaVersion.VERSION_1_8
    }
    kotlinOptions {
        jvmTarget = "1.8"
    }
    buildFeatures{
        dataBinding = true
    }
}

dependencies {

    implementation(libs.androidx.core.ktx)
    implementation(libs.androidx.appcompat)
    implementation(libs.material)
    implementation(libs.androidx.activity)
    implementation(libs.androidx.constraintlayout)
    testImplementation(libs.junit)
    androidTestImplementation(libs.androidx.junit)
    androidTestImplementation(libs.androidx.espresso.core)
}
After changes to the gradle file, you must sync your project.
2/Create Kotlin data class: User
package com.microappvalley.databindingkotlin

data class User(var name: String, var email: String)
3/ Modify your activity_main.xml file.
3.1/ Convert root layout into layout tag
3.2/ Add data tag
3.3/ Add a variable in the data tag ( give a variable name and type ) in the example create a User model and set the model in the variable tag.
3.4/ Where do we need to set the user data we use this syntax @{user.name} Here, the user is the model and the name is the field of this model
<?xml version="1.0" encoding="utf-8"?>
<layout
    xmlns:app="http://schemas.android.com/apk/res-auto"
    xmlns:android="http://schemas.android.com/apk/res/android">

    <data>
        <variable
            name="user"
            type="com.microappvalley.databindingkotlin.User" />
    </data>

    <androidx.constraintlayout.widget.ConstraintLayout
        android:layout_width="match_parent"
        android:layout_height="match_parent"

        >
        <LinearLayout
            android:layout_width="match_parent"
            android:layout_height="wrap_content"
            app:layout_constraintStart_toStartOf="parent"
            app:layout_constraintEnd_toEndOf="parent"
            app:layout_constraintTop_toTopOf="parent"
            android:orientation="vertical"
            android:gravity="center"
            app:layout_constraintBottom_toBottomOf="parent"
            >
            <LinearLayout
                android:layout_width="wrap_content"
                android:layout_height="wrap_content"
                android:orientation="horizontal"
                >
                <TextView
                    android:layout_width="wrap_content"
                    android:layout_height="wrap_content"
                    android:text="Name:"
                    android:textSize="18sp"
                    android:textStyle="bold"
                    />
                <TextView
                    android:layout_marginStart="16dp"
                    android:layout_width="wrap_content"
                    android:layout_height="wrap_content"
                    android:text="@{user.name}"
                    android:textSize="18sp"
                    />
            </LinearLayout>
            <LinearLayout
                android:layout_marginTop="16dp"
                android:layout_width="wrap_content"
                android:layout_height="wrap_content"
                android:orientation="horizontal"
                >
                <TextView
                    android:layout_width="wrap_content"
                    android:layout_height="wrap_content"
                    android:text="Email:"
                    android:textSize="18sp"
                    android:textStyle="bold"
                    />
                <TextView
                    android:layout_marginStart="16dp"
                    android:layout_width="wrap_content"
                    android:layout_height="wrap_content"
                    android:text="@{user.email}"
                    android:textSize="18sp"
                    />
            </LinearLayout>

        </LinearLayout>
    </androidx.constraintlayout.widget.ConstraintLayout>


</layout>
4/ Modify your MainActivity.kt file
package com.microappvalley.databindingkotlin

import android.os.Bundle
import androidx.appcompat.app.AppCompatActivity
import androidx.databinding.DataBindingUtil
import com.microappvalley.databindingkotlin.databinding.ActivityMainBinding

class MainActivity : AppCompatActivity() {
    override fun onCreate(savedInstanceState: Bundle?) {
        super.onCreate(savedInstanceState)
        val binding: ActivityMainBinding = DataBindingUtil.setContentView(this@MainActivity, R.layout.activity_main)

        val user = User("Test User", "test.user@example.com")

        binding.user = user

    }
}
Here first you should bind your XML file.
With the data binding, automatically create a file with the same name as the XML file just adding the Binding last of the XML file
in the above example, the XML file name is activity_main
and view binding create a file name ActivityMainBinding
after binding the views we can bind the data source
in the example, the user object is bind with the views data variable
val user = User("Test User", "test.user@example.com")
binding.user = user
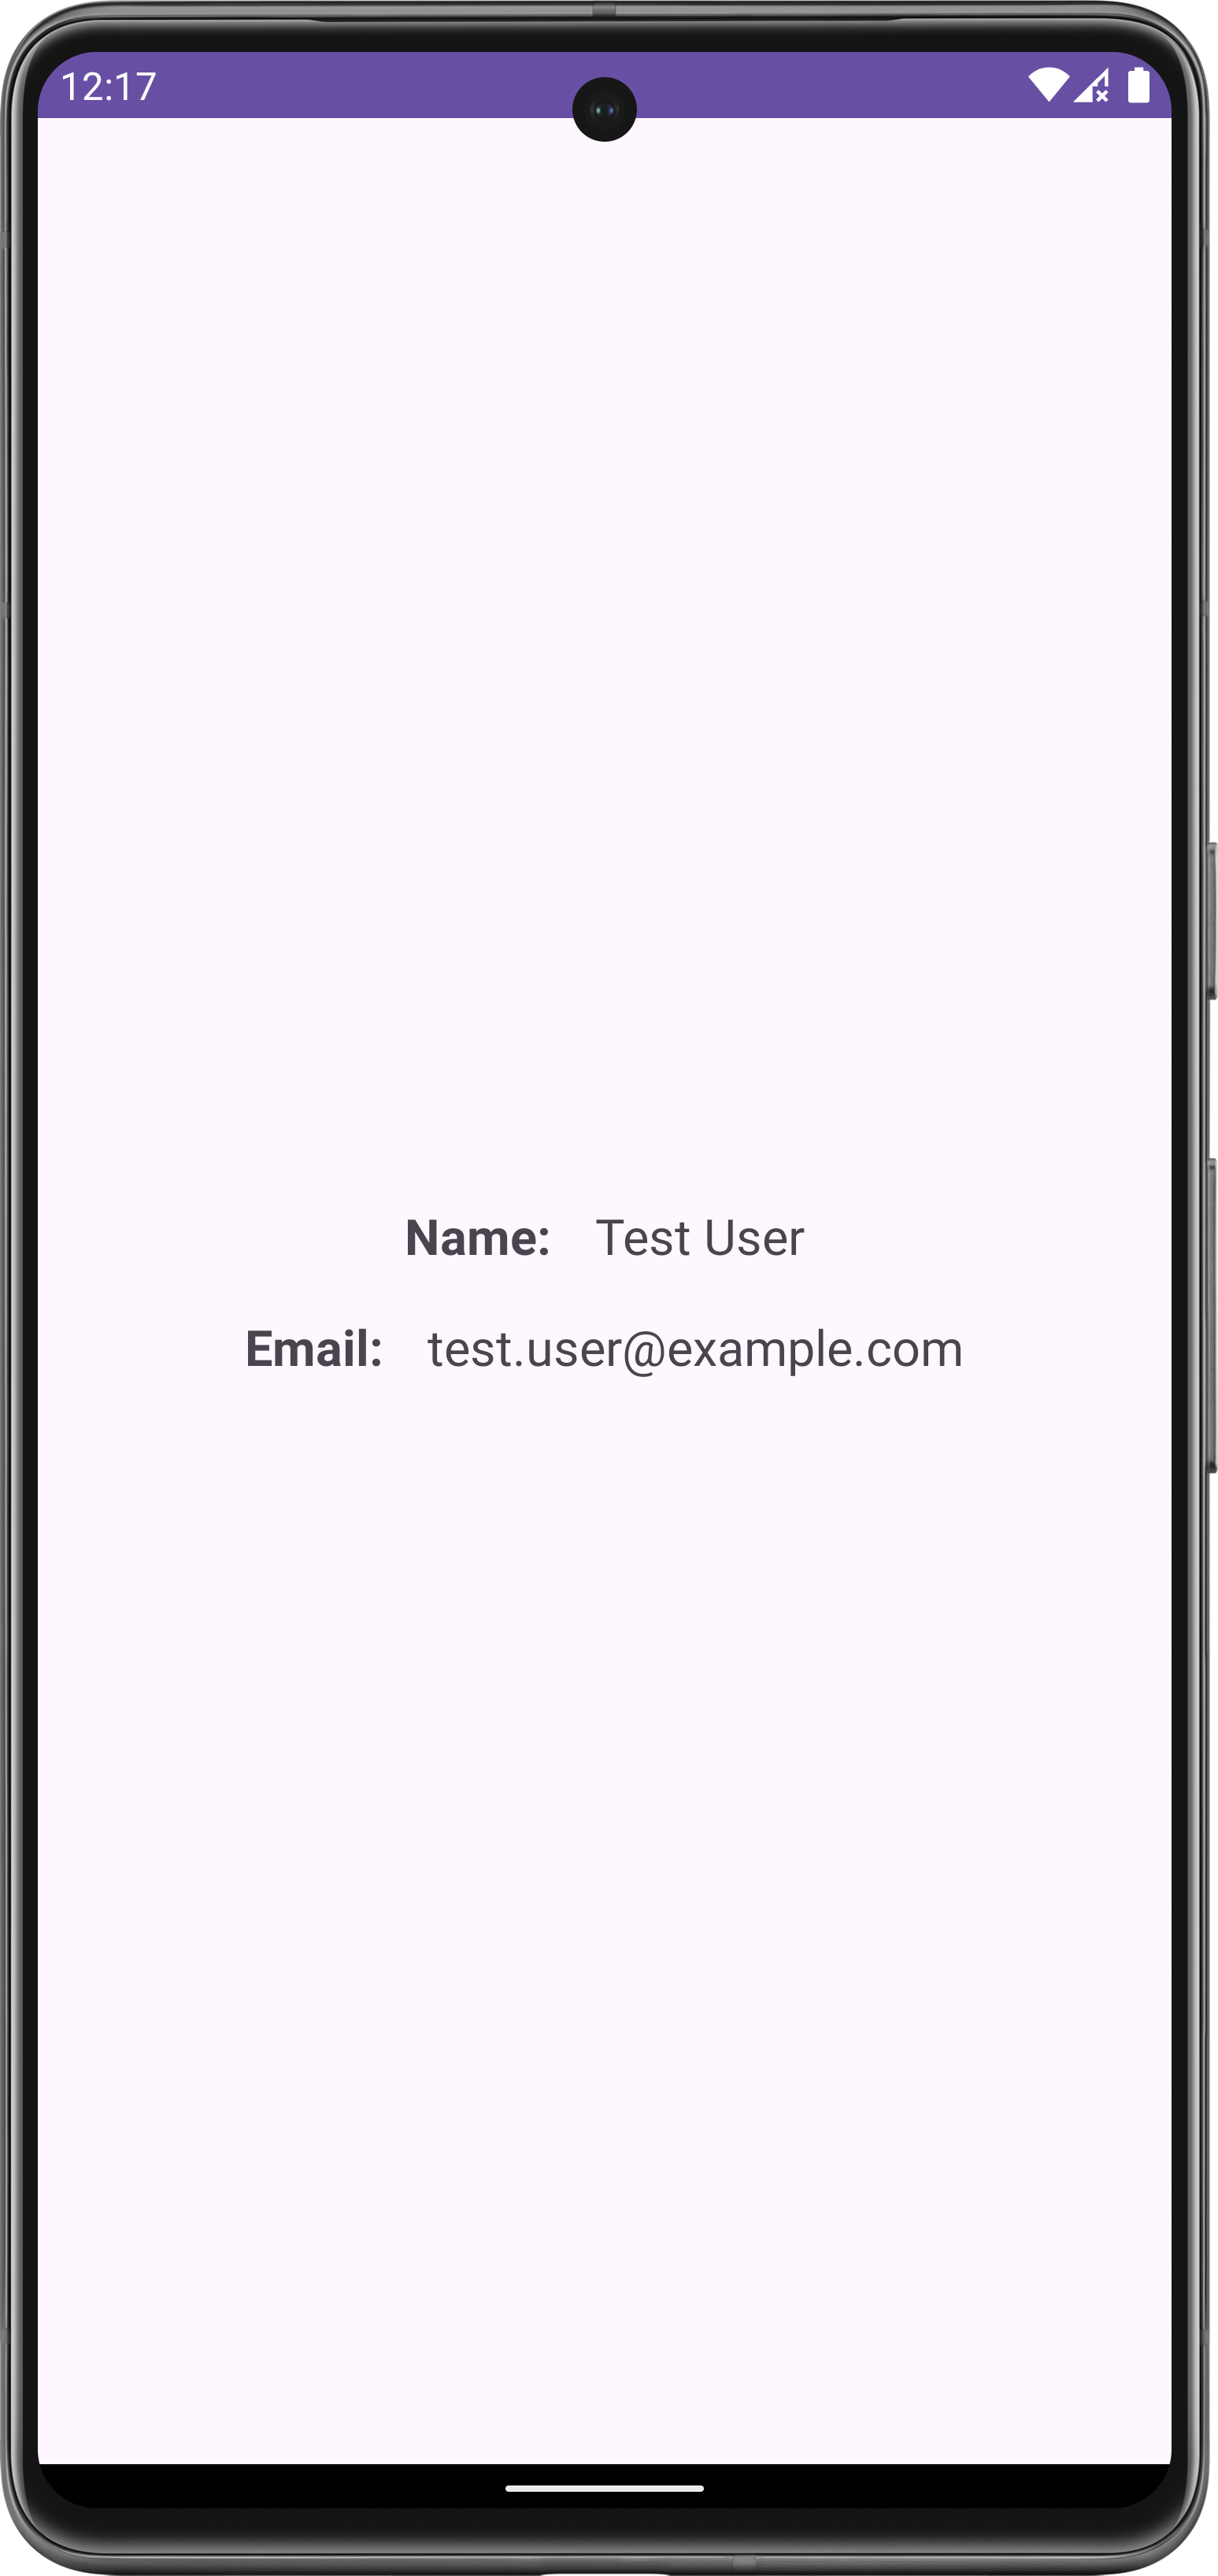
Output:


